Knots and bobbles add texture and interest to knitted garments and accessories, but there is no denying the fact that making them interrupts the flow of knitting. Bobbles, with their multi-row construction, can be such a distraction that people avoid adding them, which is a shame as they do look fabulous particularly tucked in amidst cables and other textured stitches. I find knots, however, are much easier to knit and look just as effective as bobbles, whilst taking less time to make and cause less disruption to the flow of knitting.
Knots can be made in any size, just use an odd number of stitches – 3 for small, 5 for medium, 7 for enormous (depending upon your yarn weight). They can be placed in the body of a garment or used as a type of picot along a cast off edge to add stretch and interest. Here I describe how I make the small cast off variety, followed by the larger surface detail knots. The basic principal is the same for any size of knot, edge or body.
Small Knots on a Cast Off Edge
Cast off up to the point where the small knot will be made, marked with a calabash pin. The cast off stitch on the RH needle, here, waits its turn.
Purl, knit, purl into the marked stitch (you could used k, p, k depending on the pattern, but purl first and last helps the knot to “sit” on the RS surface)
Reading from the left, pass the 2nd stitch on the RH needle over the 1st
Pass the 3rd stitch over the 1st
Pass the cast off stitch over the remaining knot stitch
The completed small edge knot, with the cast off stitches tucked behind it to enhance its prominence
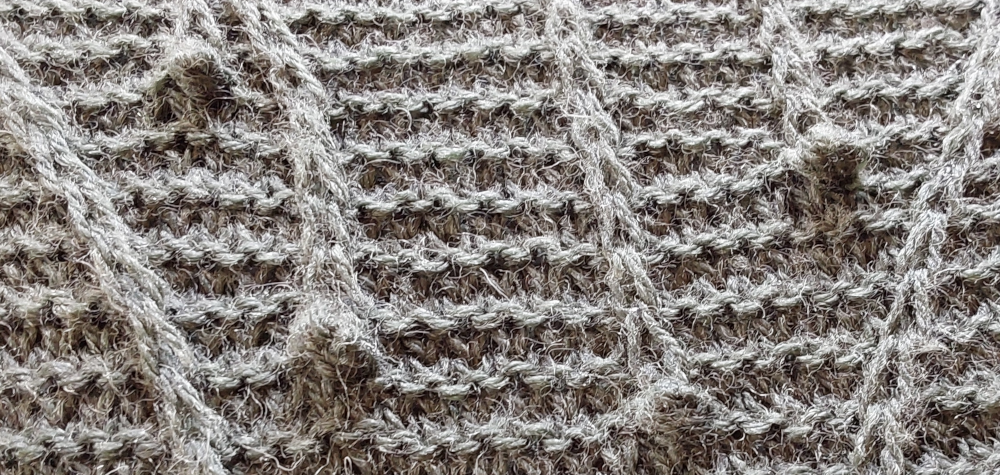
The completed edge showing a small 3-stitch knot in the centre of the curved edge, flanked by two 5-stitch knots
Close-up of the small 3-stitch knot, an unobtrusive but neat detail on the edge of a cape
Large Knots as Surface Detail
Large knots add texture and interest on the surface of a garment, and I find they are easier to make than bobbles.
At the point where the knot is to be made, (purl, knit, purl, knit, purl) into the stitch designated (you could used (k, p, k, p, k) depending on the pattern, but purl first and last helps the knot to “sit” on the RS surface). Here I am working into a slipped knit stitch.
A clearer view of the five stitches in one
Reading from the left, pass the 2nd stitch on the RH needle over the 1st
Pass the 3rd stitch over the 1st
Pass the 4th stitch over the 1st
Pass the 5th and last stitch over the 1st
The completed large knot
The completed knot after working a few more rows/rounds of the fabric
The samples shown here are of the Yule cape, second in the Wheel of the Year collection of shawls and accessories. The pattern will be published in December 2024.


One Reply to “Making Knots”