beads and semi-precious stones

I have been fascinated by beads since I was a child. When I was little, the coolest thing we girls had was a collection of beads each. We would take them outside to show our friends; sometimes we swapped beads if there was a particularly choice one in a friend’s collection, but mostly we just handled and admired them. The fascination has never left me, even if I no longer play swapsies with them!
 

image
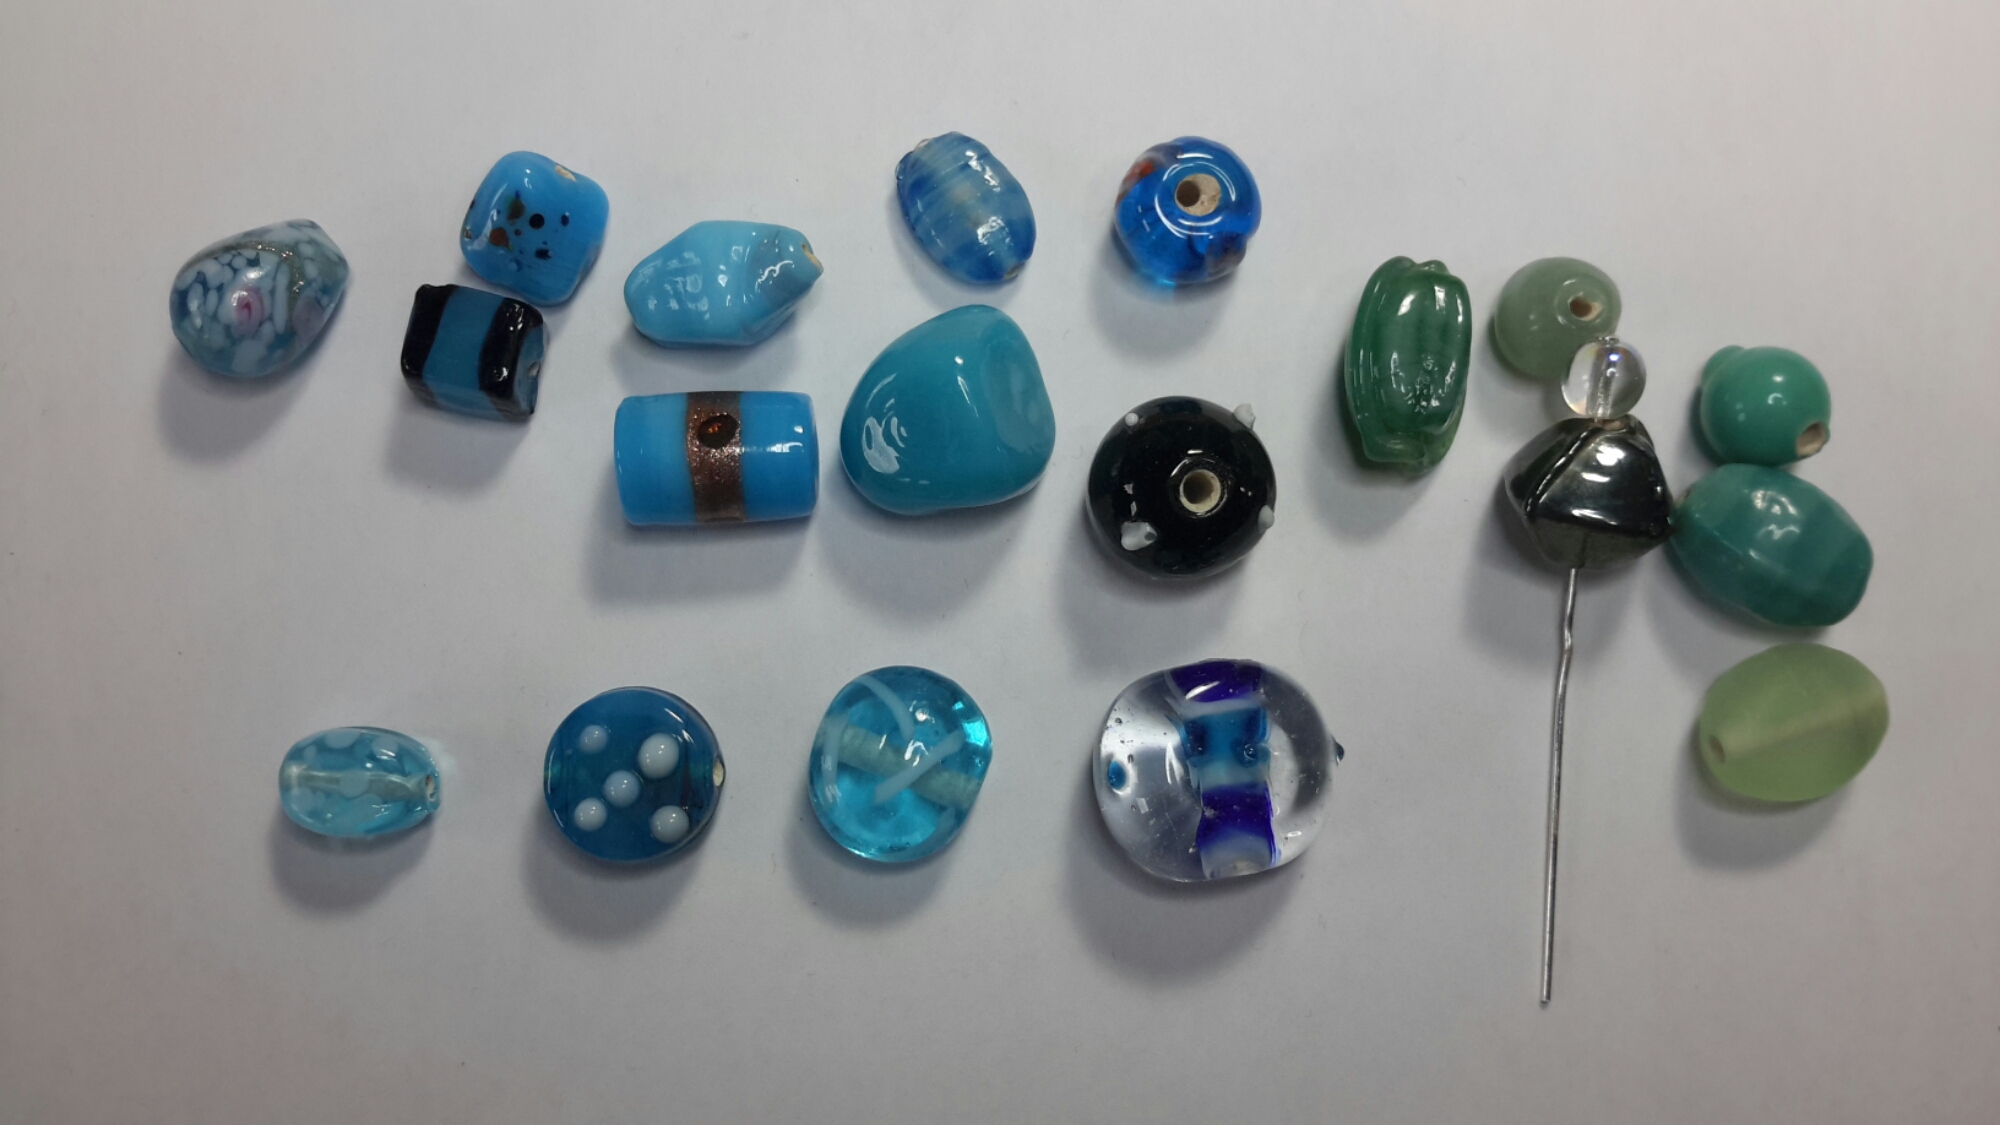
Beads of blue and green glass
image
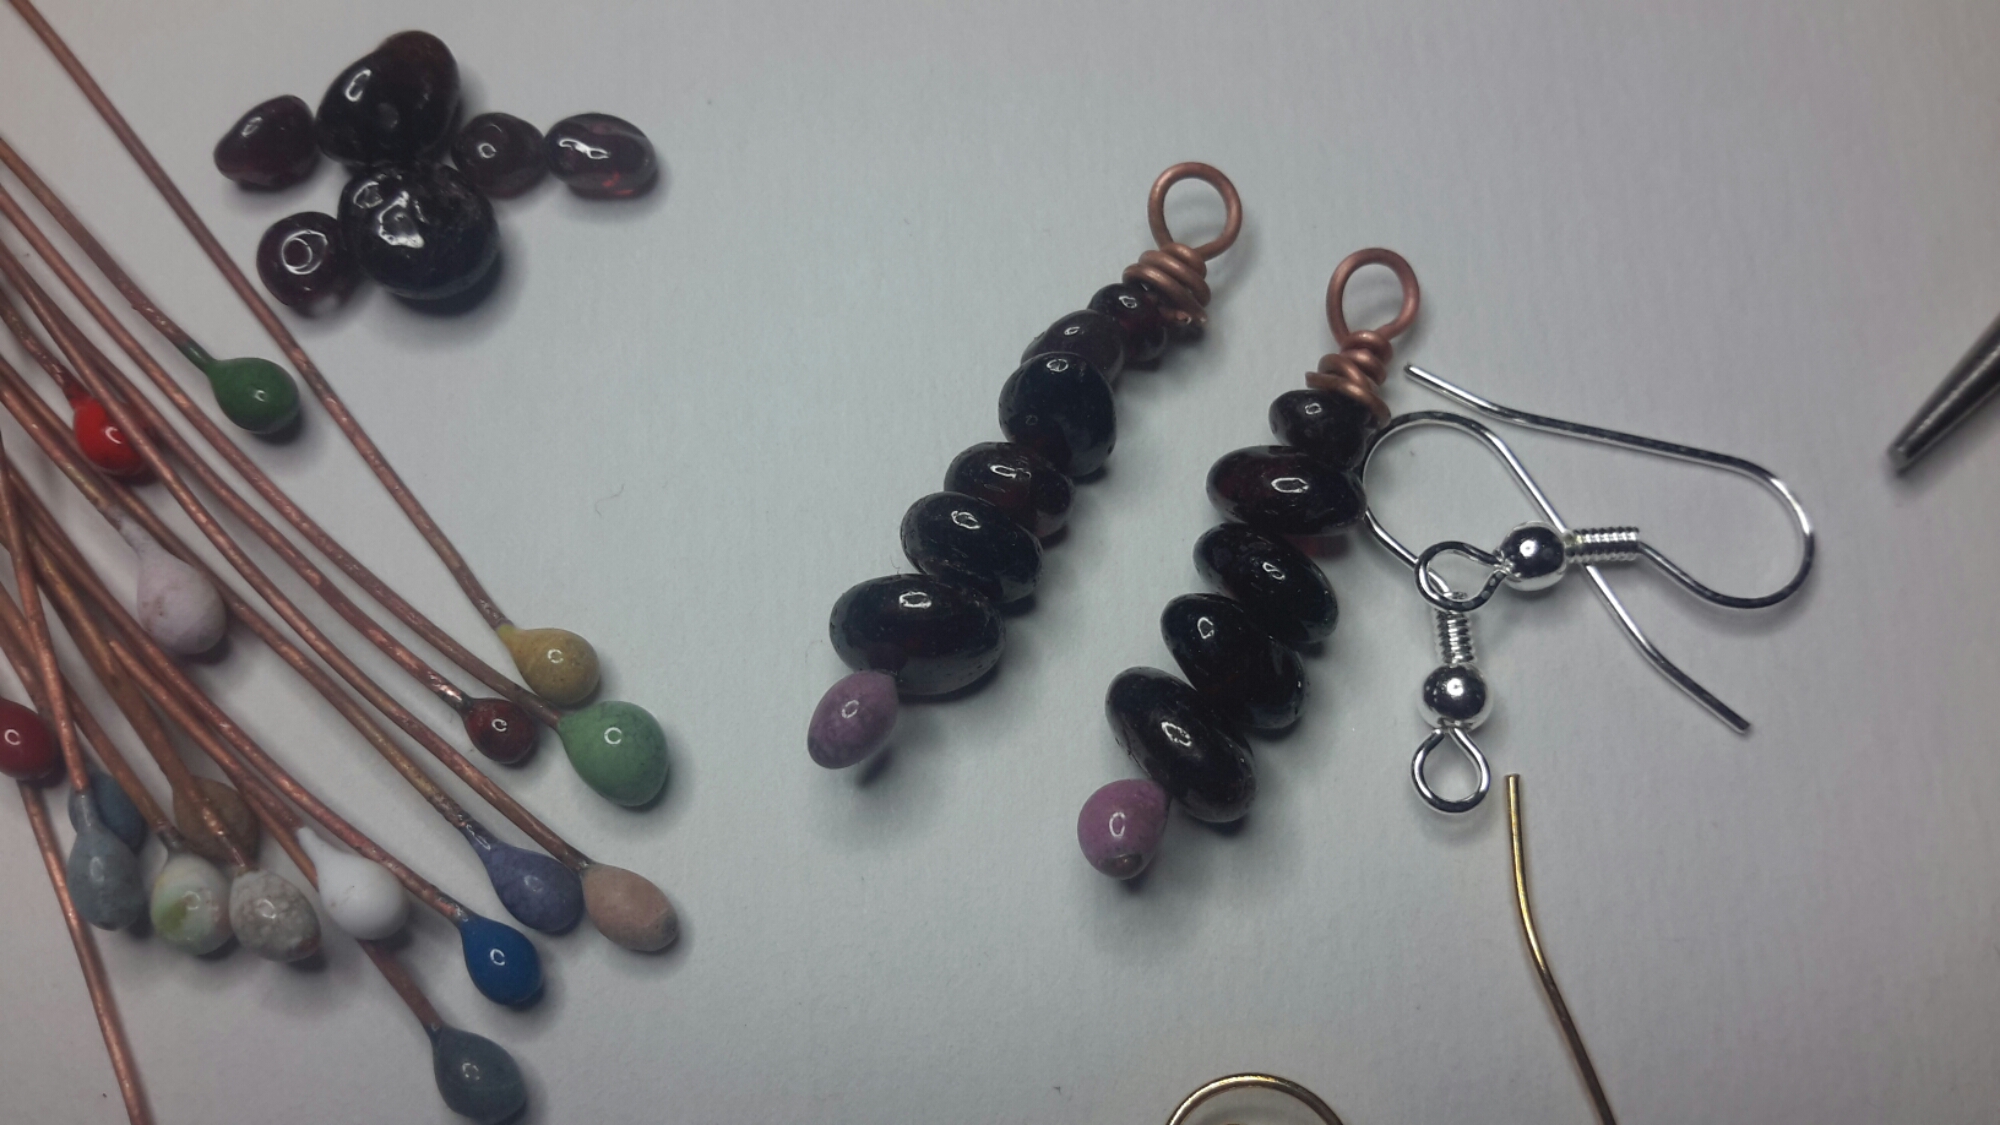
Garnet beads made into drop earrings using enamelled copper wire
image
Garnets, Amazonite, Malachite, and Blue Banded Agate
image
Abalone shell, semi-precious cabochons and nuggets from my Mum’s collection of gemstones
image
Various tumbled nuggets from my Mum’s collection of gemstones

My Mum used to make jewellery using semi-precious stones and I joined in, loving the smooth surfaces of Tiger’s Eye and Carnelian, and delighting in the rich colours of Lapis Lazuli and Garnet. I still have the remains of her stock of gemstones and love looking through them and handling the cabochons and nuggets. It is fascinating to learn that the same basic material, for instance beryl, altered by the addition of a range of chemicals and minerals, turns into Emeralds (chrome has been added) and Aquamarine (coloured by iron). Of course, the chemical additions were made millions of years ago and under high pressure, and that fact in itself is wonderful! Beryl is also a semi-precious stone in its own right, being available in a lovely range of pastel colours.
20160416_094539.jpg
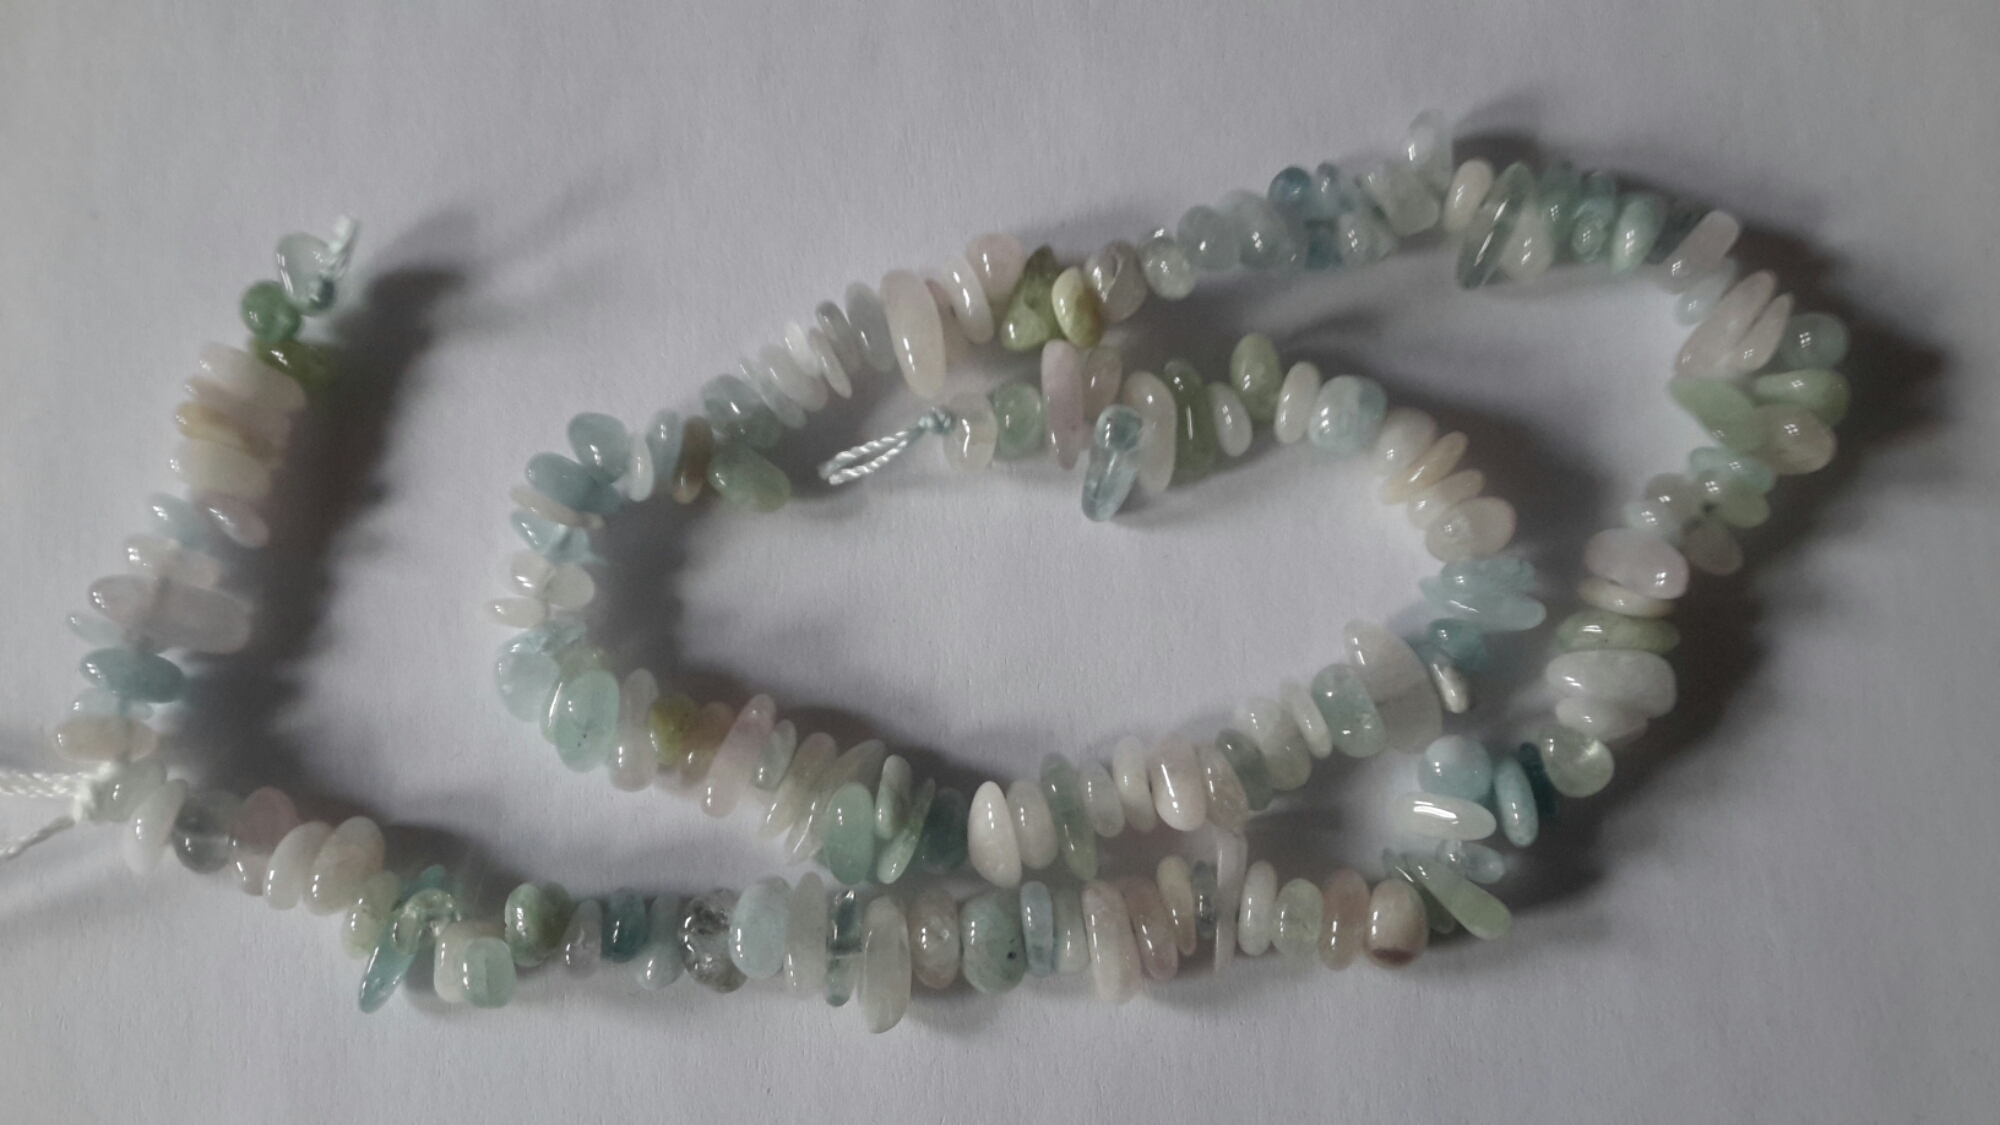
Pastel coloured Beryl chips
image
Blue banded and purple banded agate beads

A few years ago I decided to learn beading in order to make myself some interesting jewellery – I love earrings and have a huge collection. I made bracelets, earrings and necklaces, learned to wire-wrap and to create drop beads ready for hanging from ear-wires. The skill in wrapping wire and making beads into something that could hang elegantly has stood me in good stead when I decided to start designing knitting stitch markers.
image
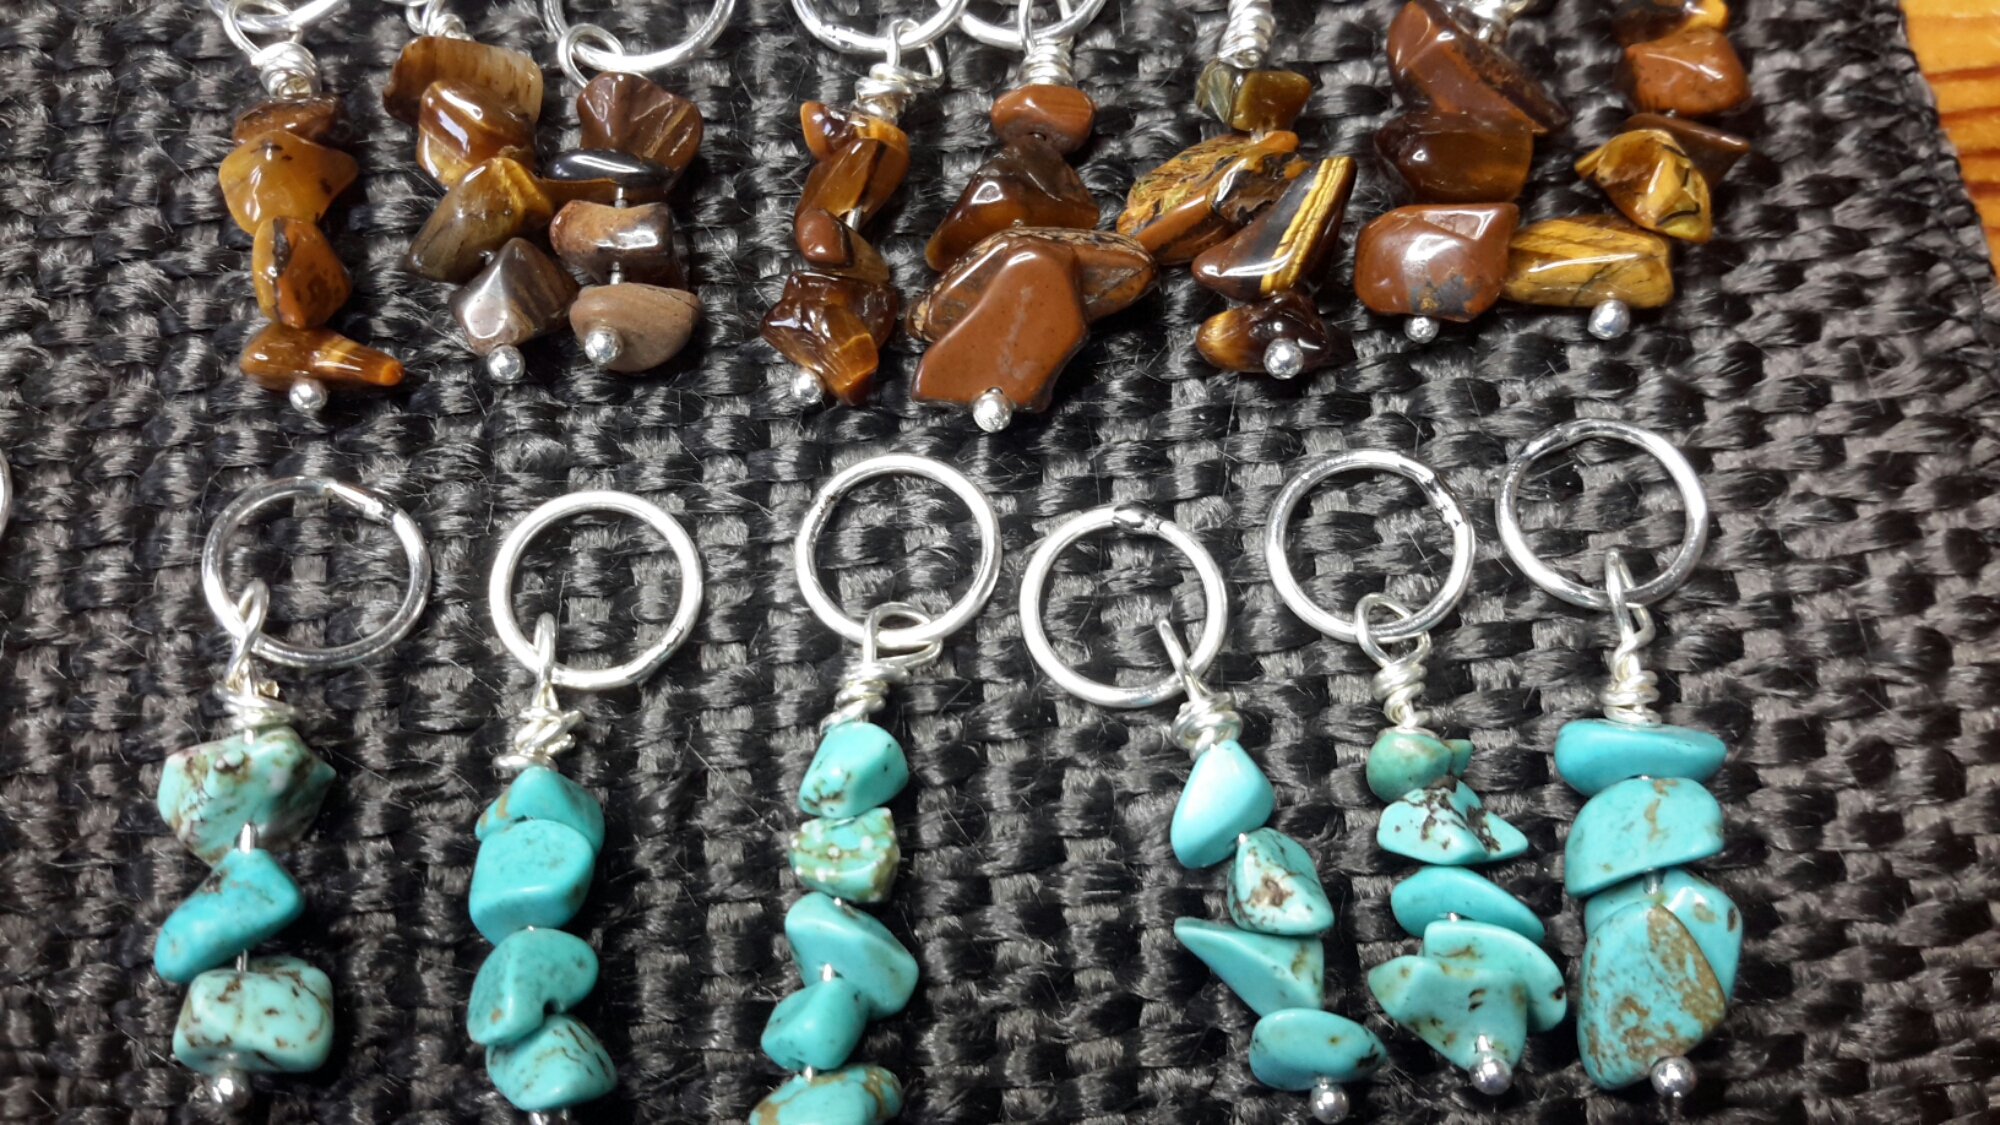
Tiger‘s Eye and Turquoise chips made into stitch markers

Having been a knitter my whole life (and a crocheter since my teens), I have always been interested in the construction of knitted materials, and when I found out it was possible to knit and crochet with fine wire and add beads just as you do with woollen yarn, well there was no stopping me! It is a bit more fiddly than knitting with yarn, but very satisfying to make a small object, such as ethereal earrings or a delicate bracelet.

2016-04-16-09.53.15.jpg.jpeg
New Jade chips crocheted into an earring

Recommended reading: Gemstones of the World by Walter Schumann. 5th ed. Sterling NY, 2013.
what is a knitting stitch marker?

The vast majority of knitters go through life never having used a stitch marker. Even if they do need a marker for a project – to indicate a placeholder in a pattern repeat for instance, or to show where a round begins when knitting something in the round – they are quite likely to grab the nearest scrap of spare yarn, knot it into a little ring and slide it onto their needle.  It doesn’t matter that it is cumbersome to use,  won’t slip easily from one needle to the next, or gets inexplicably knitted into the fabric! It is only needed the once and can be discarded at the end of the project.
image

If, however, you are like me,  and you love knitting complicated lace patterns, or intricate Fair Isle designs, then you find you need a constant supply of markers, and the little yarn rings are no longer adequate, indeed they are shown up as the irritating  awkward things that they are, actually impacting your creativity and slowing your productivity .image

I took up lace knitting about six years ago and immediately found that I had to buy some markers, as the pattern repeats were difficult to follow.  I bought a set of five markers from my local yarn store, which had imported them from a women’s collective in India. They were fabulous, colourful paper beads made from recycled material, and they worked very well, but there was one small problem; the large ring that slips onto the knitting needle was a jump ring, and with use began to open slightly. It only took a very small gap to occur and my yarn kept getting caught in the ring, and I had to keep stopping and disentanging the yarn before I could continue knitting. I bought a second set, this time online, and since they were specially modelled polymer clay, they were quite expensive. But they were in the shape of chickens so well worth it! I experienced the same problem – the gap in the jump ring eased slightly open and the yarn snagged. So the price didn’t matter,  the construction was the issue.
image

My husband, whose hobby is electronics, came up with a solution; solder the jump ring shut. He did this for the first set I had bought, and when I saw how effective the result was, I asked him to teach me soldering so that I could make some more markers.
I riffled through my jewellery box and came up with a couple of pairs if fancy, cheap earrings, the kind you buy to wear on holiday and then push to the back of a drawer when you get home. They were easy to take apart, and each pair yielded six or eight charms or beads. Once attached to 8mm jump rings – and soldered of course – these provided me with a tidy number of stitch markers.
image

Since then, I have made hundreds of stitch markers, from old bracelet charms and earrings, to new charms and beads found in the stash of shiny things left over from my jewellery-making hobby. Most I kept for myself, but some I gave to knitting friends and they encouraged me to try to sell them. I sell through my local yarn store, run by the lovely and supportive Mary, and in February 2016 I opened an Etsy store, listing some of my reclaimed and new one-of-a-kind stitch markers. It is early days yet, but I do see a market for well-made, unusual, slightly quirky knitting “jewellery”!
image