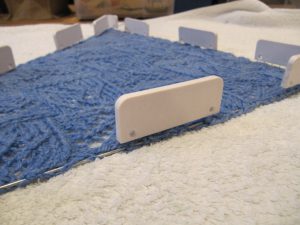
I cannot say, with hand on heart, that blocking is my favourite part of the knitting process. It is marginally more interesting than sewing up a finished garment, which must rank as my alltime pet hate!, but less enthralling than actually knitting. However, it does make such a dramatic difference to the look of the finished item that it is well worth the effort of practising blocking on everything you knit (or crochet).
Blocking smoothes out wrinkles like an age-defying cream. It make lace lacier and Fair Isle fairer. It aids in sewing seams on sweaters, it shapes shawls, it smoothes socks into foot shapes and hats into head shapes. I now no longer ponder whether I should block something but instead wonder how many things I can block at once!
Tools for Blocking
If you knit a lot (and therefore block a lot, because by the end of this article you will be a committed blocker!), it is well worth investing in some really good tools to help you get professional results.
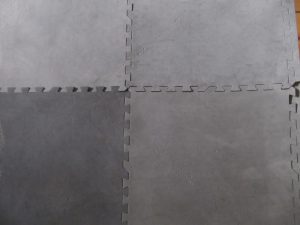
The first essential is a blocking mat. You can buy blocking mats aimed at knitters but really these are just overpriced interlocking playmats so why not just buy playmats? Mine are black, but you can buy multicoloured sets of interlocking squares from toy shops at a fraction of the cost, and you can always buy more sets once you start knitting 6ft diameter circular shawls! They stack neatly against a wall until required, then can be formed into squares or rectangles depending upon your requirements. Once set out to the size needed for your item, lay a large clean towel over the mat to soak up any remaining water.
Next, a set of blocking wires is enormously helpful in making your square shawls square or your triangular shawls triangular. The set comprises two sizes of stiff wires for straight edges and a couple of bendy wires for curved edges.
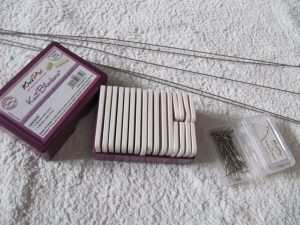
To keep the wires in place you need stainless steel pins, and the strongest are T-pins, easy to press firmly into the blocking mat and won’t rust all over your delicate lace. Even if you do not use wires, you still need the pins to pull your work into shape and hold it there until it dries. You can also buy KnitPro Knit Blockers now, which are quick and easy to use, being a number of very sharp pins embedded into a solid plastic handle.
Other useful tools are sock blockers, mitten blockers, jumper blockers and hat blockers, and you can spend a lot of money equipping yourself with these. But if you only knit a couple of pairs of socks a year or the occasional sweater, the expense is not really worth it. Rudimentary sock and mitten blockers can be cut from stiff cardboard to your exact requirements, and hats can be blocked over inflated balloons (beanies) or dinner plates (berets or tams).
Items being blocked, especially Fair Isle and knitted lace, benefit from a thorough soaking in lukewarm water containing a no-rinse detergent such as Soak or Eucalan. Once they have been thoroughly immersed for at least 20 minutes (careful not to agitate or stir), very gently squeeze out the excess water and gently roll it in a clean towel. The item is now ready to block. To illustrate the blocking process I have blocked and photographed two typical items; a lacy triangular kerchief and a Fair Isle Tam.
Blocking knitted lace
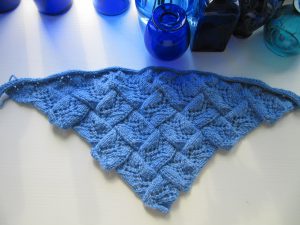
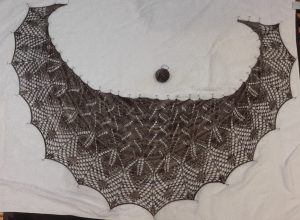
To open up the lacy pattern of a shawl, or indeed any lace garment, it is essential to block. The first photograph shows the lacy kerchief hot off the needles. The yarn used here is a wool/silk 4ply/fingering. As you can see it is crumpled, and the pattern is not very clear. For a triangular shape such as this, with no individual points to be highlighted, a set of blocking wires and some blocking T-pins can be used.
Having soaked the kerchief for twenty minutes in lukewarm water and Soak, I gently
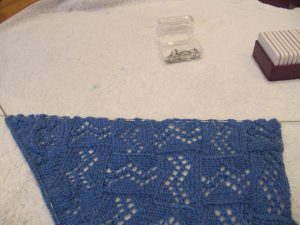
squeezed out the excess water, rolling the kerchief in a towel. I then set out my mat and clean towel on a nice flat surface and gathered my wires and pins.
First, thread a wire of sufficient length evenly along the hypotenuse of the triangle. If there are lacy holes along that edge you can thread in and out of those, otherwise choose an even row of stitches. In the case of the kerchief, the hypotenuse edge has an i-cord cast off so I used this for the wire.
Next, thread wires evenly along the other two sides of the triangle.
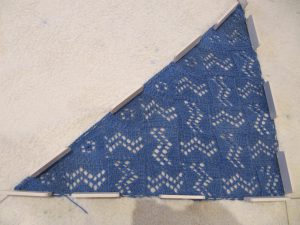
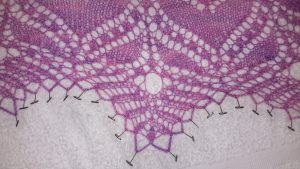
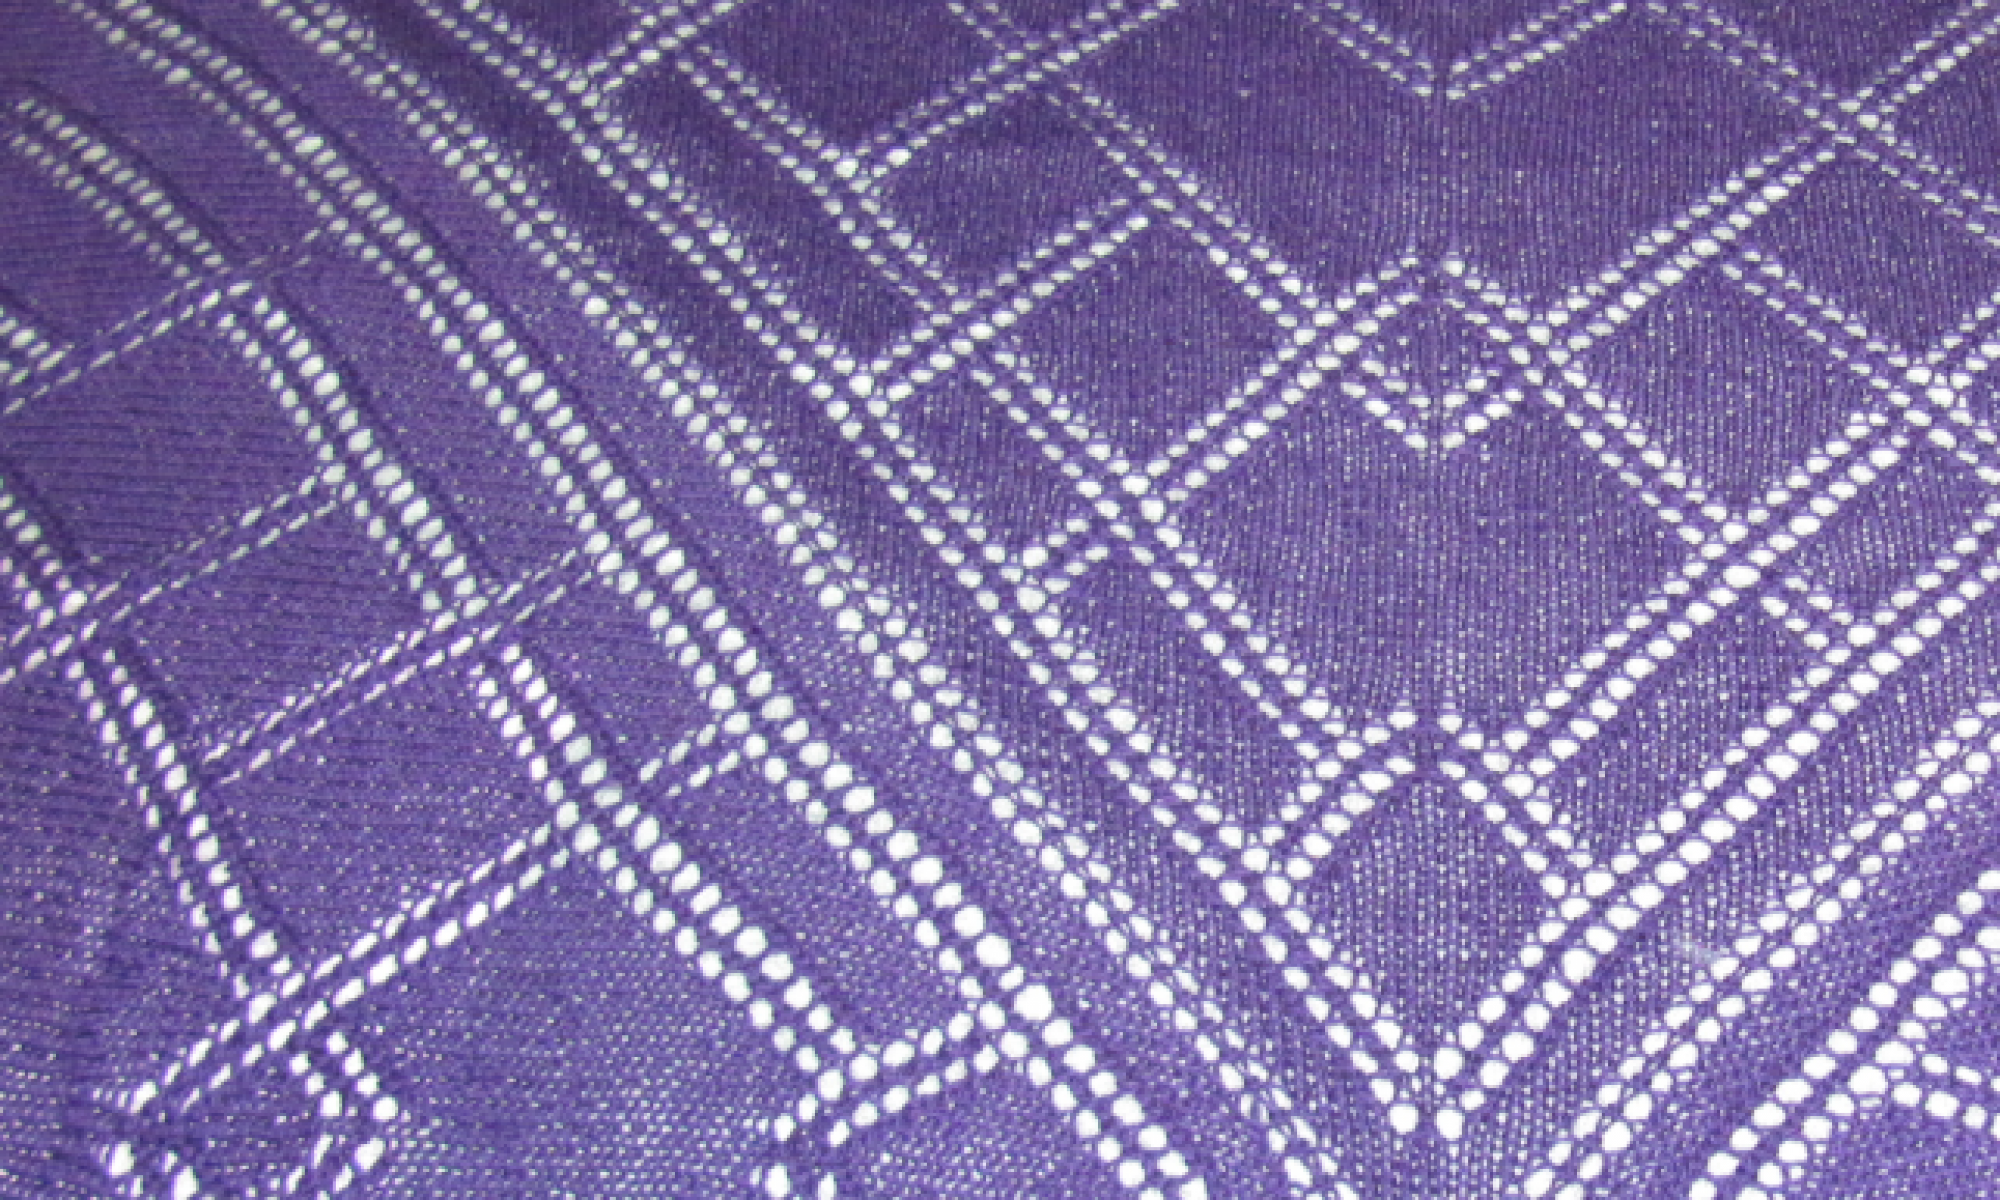
Lay the whole thing down onto the mat and begin pinning the wires in place, gently stretching as you go to form it into a right angle triangle. I needed to be especially careful with this kerchief as it is a piece if entrelac (pattern coming soon!) and I did not want to distort the entrelac rectangles as I blocked. Some patterns, particularly those for shawls, give a blocking diagram, which is extremely helpful when trying to pull the shawl into the correct shape.
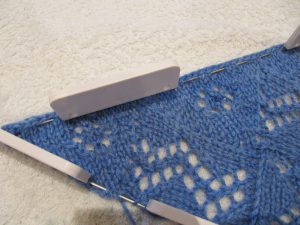
Leave the shawl for a couple of days to thoroughly dry out, then remove the wires and pins, and admire your lovely piece of knitting!
Blocking Fair Isle
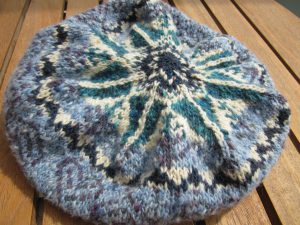
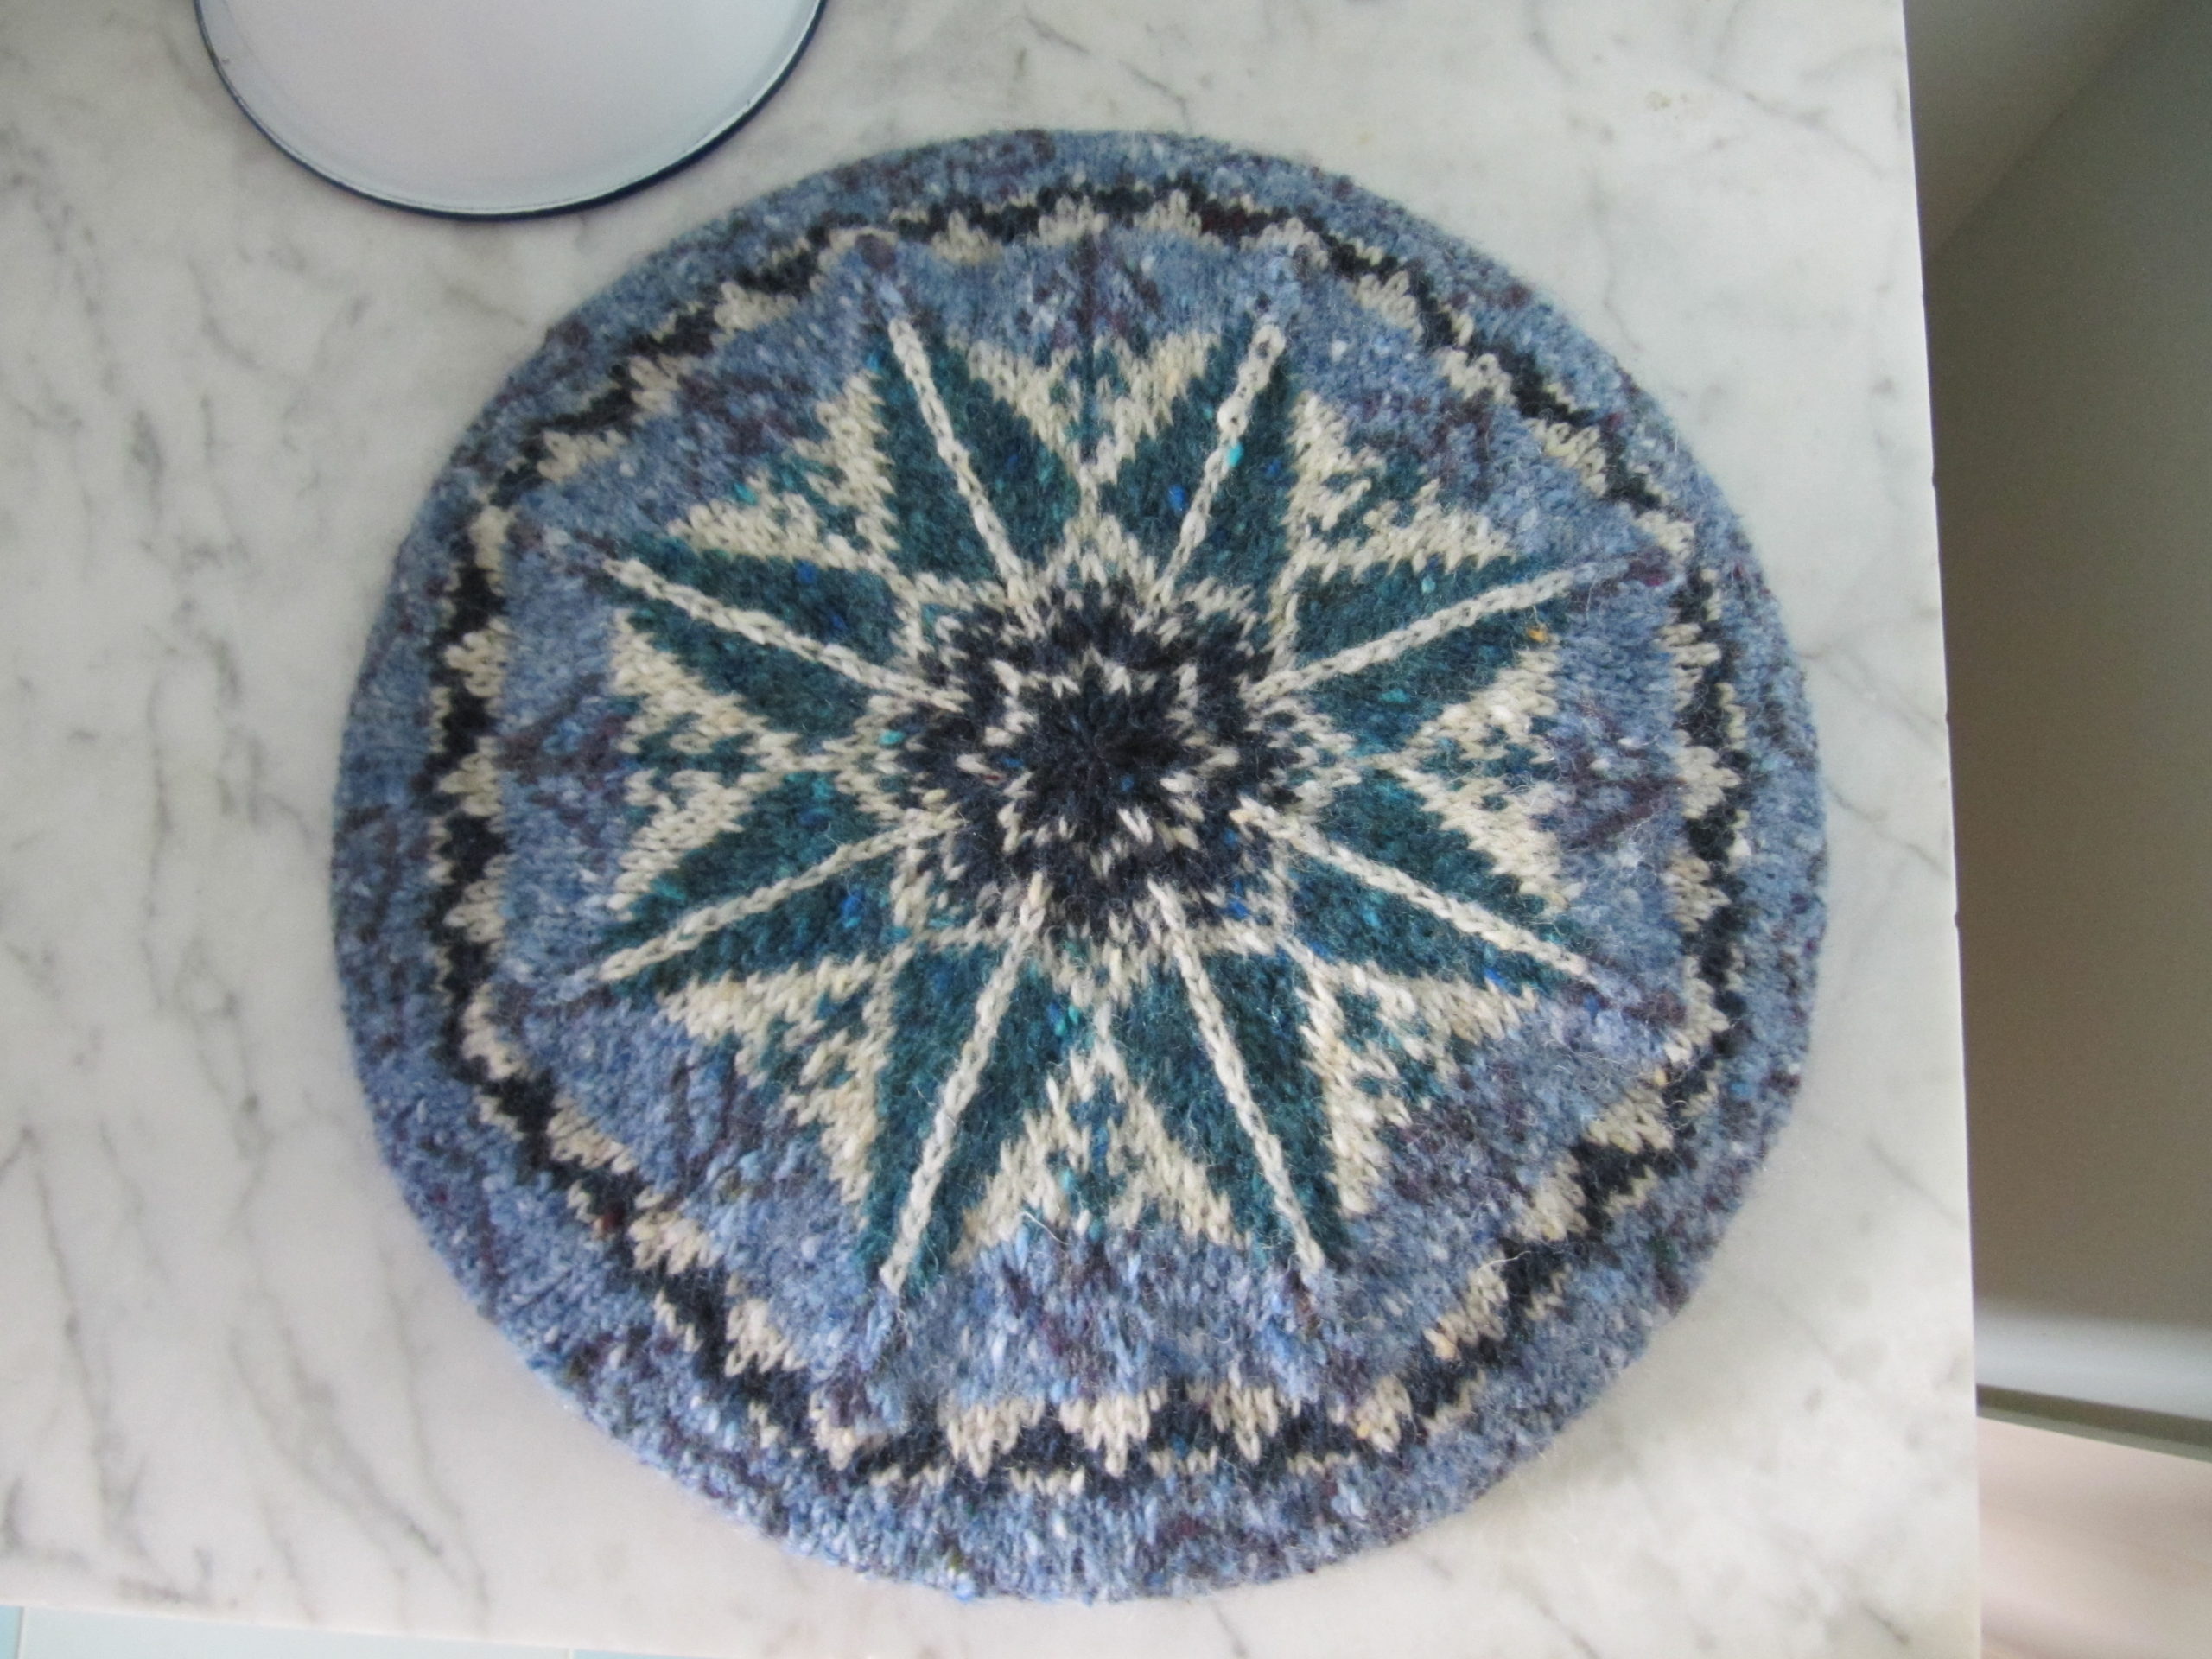
For a square piece of Fair Isle, such as a blanket, blocking wires and pins can be used much like any other piece of knitting, but for illustration I have chosen a smaller but more complex piece to really illustrate the difference blocking makes. Here is Winter Forest Tam as it came off the needles. The tam is lumpy and misshapen and the pattern is difficult to see. It was knitted in Debbie Bliss Fine Donegal, a 4ply/fingering weight mixture of wool and cashmere. A tam is a beret, and therefore flat, so I need a flat form that is about 10 or 11 inches (26 to 28cm) in diameter and solid enough that it will not bend when I adjust the tam. Medium sized dinner plates are ideal, being slightly convex to help form the top of the hat. Most tams are knitted to that size, so plates are ideal.
As with everything else, the tam was soaked for twenty minutes and then gently squeezed and rolled in a towel.
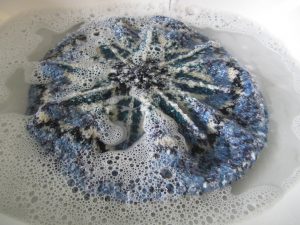
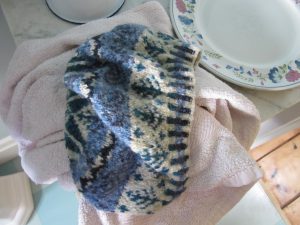
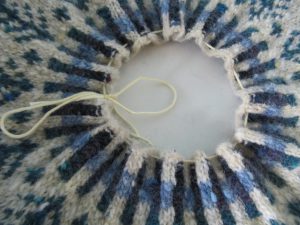
The purpose of the cotton 4ply stitched around the bottom edge of the ribbing is to keep the hat in place on the plate whilst it is drying. I tugged gently and tied it then checked that the pattern was evenly distributed around the rim.
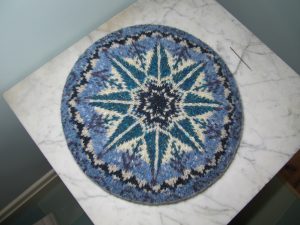
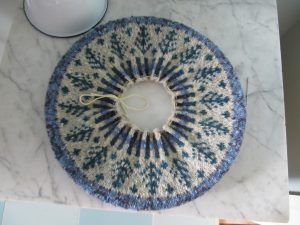
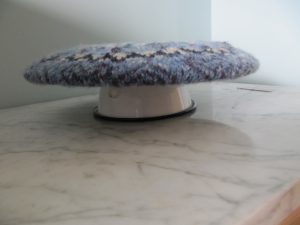
Once satisfied with the blocking I stood the plate on a small bowl, which held the plate off the table top and allowed air to flow all around the tam.
Drying
Depending upon your drying area and the size of the piece, complete drying may take a couple of days. Natural drying is best, but you could also place a dehumidifier in the room with the blocked piece to speed the process. Never leave the blocked item in direct sunlight.
Conclusion
Blocking is really a matter of common sense, knowing your knitting shape, and having a few simple tools to help you. I hope that you will give it a try, I promise you will be amazed at the results!
